▶️ Run the Wholesale POS Demo
The Multipaz Wholesale POS is the complete implementation behind this guide.
The sample uses development configuration, including local HTTP and a development attestation policy. A production terminal needs hardened device-attestation requirements, TLS, managed payment keys, and a governed issuer-trust configuration.
Prerequisites
You need:
- A running Multipaz Utopia records server with a payment-processor trust root, seeded payer and merchant accounts, and a trusted DPC issuer.
- A wallet with a DPC issued by that trusted issuer. It is recommended to use the Multipaz Wallet. You can get the release APK from apps.multipaz.org
- An Android device or emulator with
adbavailable.
1. Start Multipaz Utopia Server
Run the Utopia records server directly:
cd /path/to/multipaz-utopia
./gradlew run
- It starts the Utopia services, including the records server on
http://localhost:8004, which matches the POS backend's default configuration.
Alternatively, build and run the Docker bundle:
cd /path/to/multipaz-utopia
./gradlew :deployment:buildDockerImage
docker run --rm -p 8100:8100 multipaz-utopia/server-bundle:latest
- It starts the bundled Utopia environment behind port
8100; its Registry is available athttp://localhost:8100/registry/.
2. Start the terminal backend
From the POS project directory, start the terminal backend. It starts the terminal backend on its configured port and makes the attested payment RPC endpoint available to the POS app. For a directly running records server:
./gradlew :terminalBackend:run
For the Docker bundle, you would want to point the backend at its proxied Registry instead to override the URL (the backend appends its
/rpc endpoint automatically.):
./gradlew :terminalBackend:run --args="-param records_server_url=http://localhost:8100/registry"
3. Install the POS terminal app
Install the Android terminal and route its localhost traffic to the backend:
./gradlew :androidApp:installDebug
adb reverse tcp:8110 tcp:8110
4. Issue a DPC from the Utopia Bank
Issue a DPC from the Utopia Bank to a wallet backed by a seeded payer account. The Registry trusts only its enrolled issuer root, so a DPC issued under another root will be declined at settlement.
- Go to the Utopia Bank page in your holder device (you might want to do
adb reverseif the server is running locally) - Utopia Bank can be opened from http://0.0.0.0:8017/ if you are running the server using gradle or http://localhost:8100/bank_of_utopia/ if you are running using container image.
- Issue the Payment Credential to your holder
5. Complete the POS settlement:
- Open the POS app and enter an amount.
- Select CHECKOUT NOW.
- Present the wallet's DPC through NFC, or switch to QR and scan the wallet's
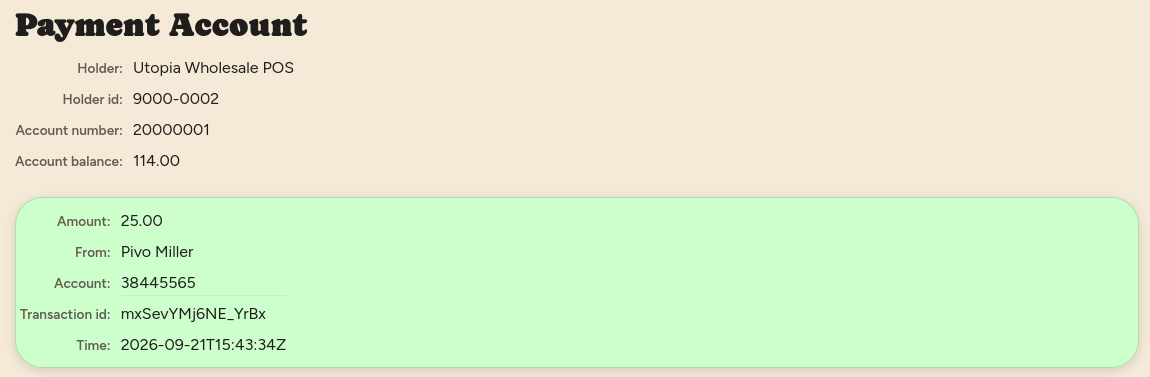
mdoc:QR code. - Confirm that the POS reports SETTLED / TRANSACTION VERIFIED and that the merchant account shows the transaction in the records-server UI.
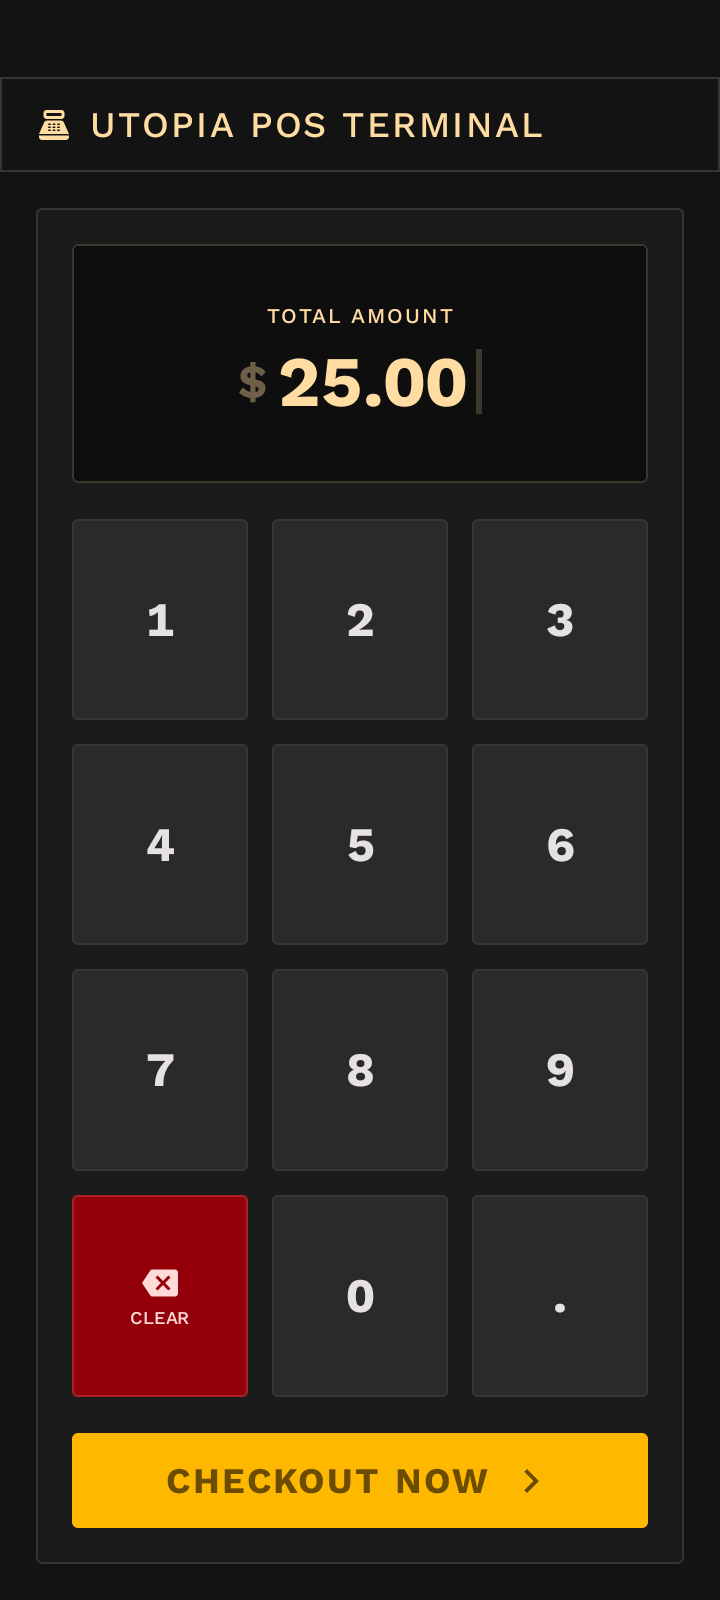
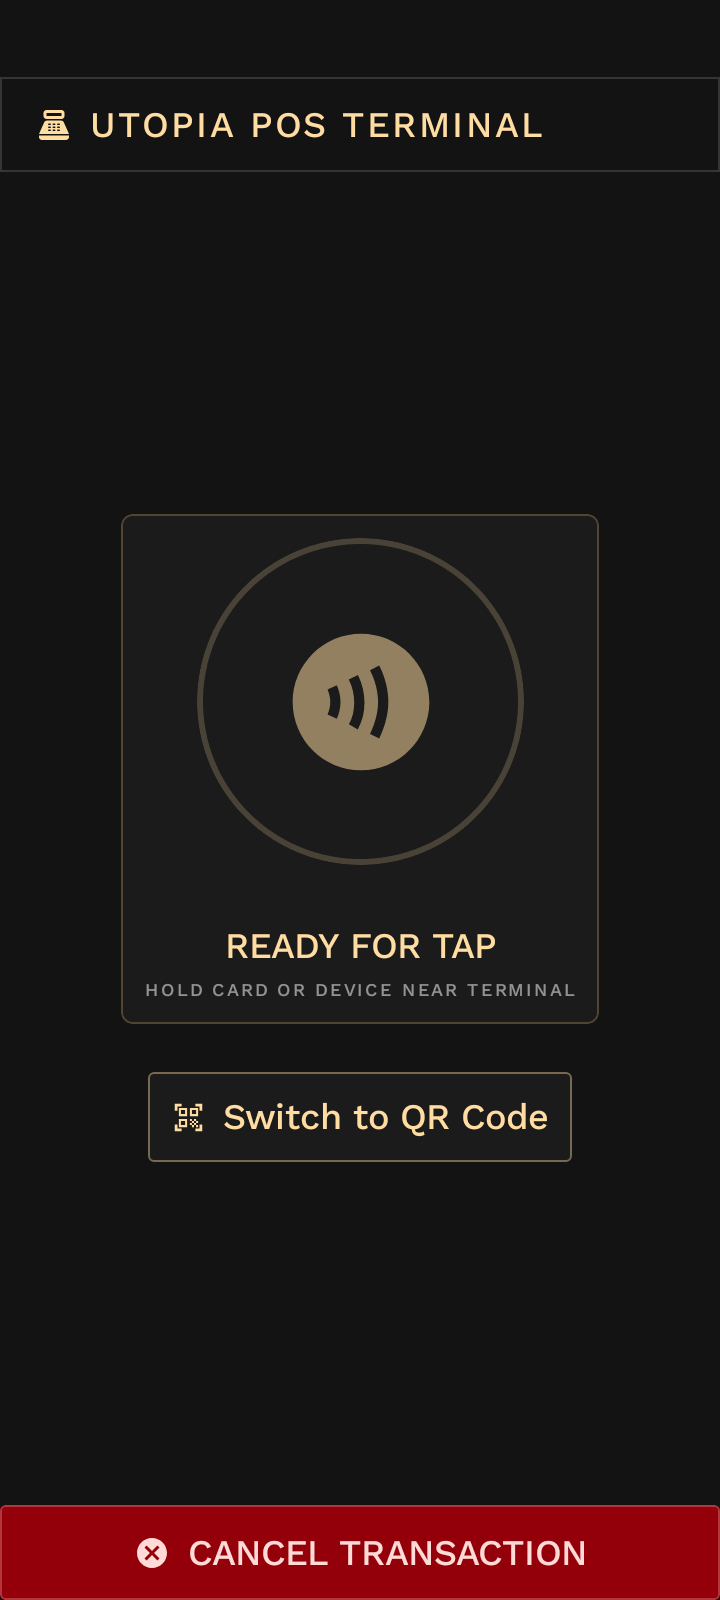
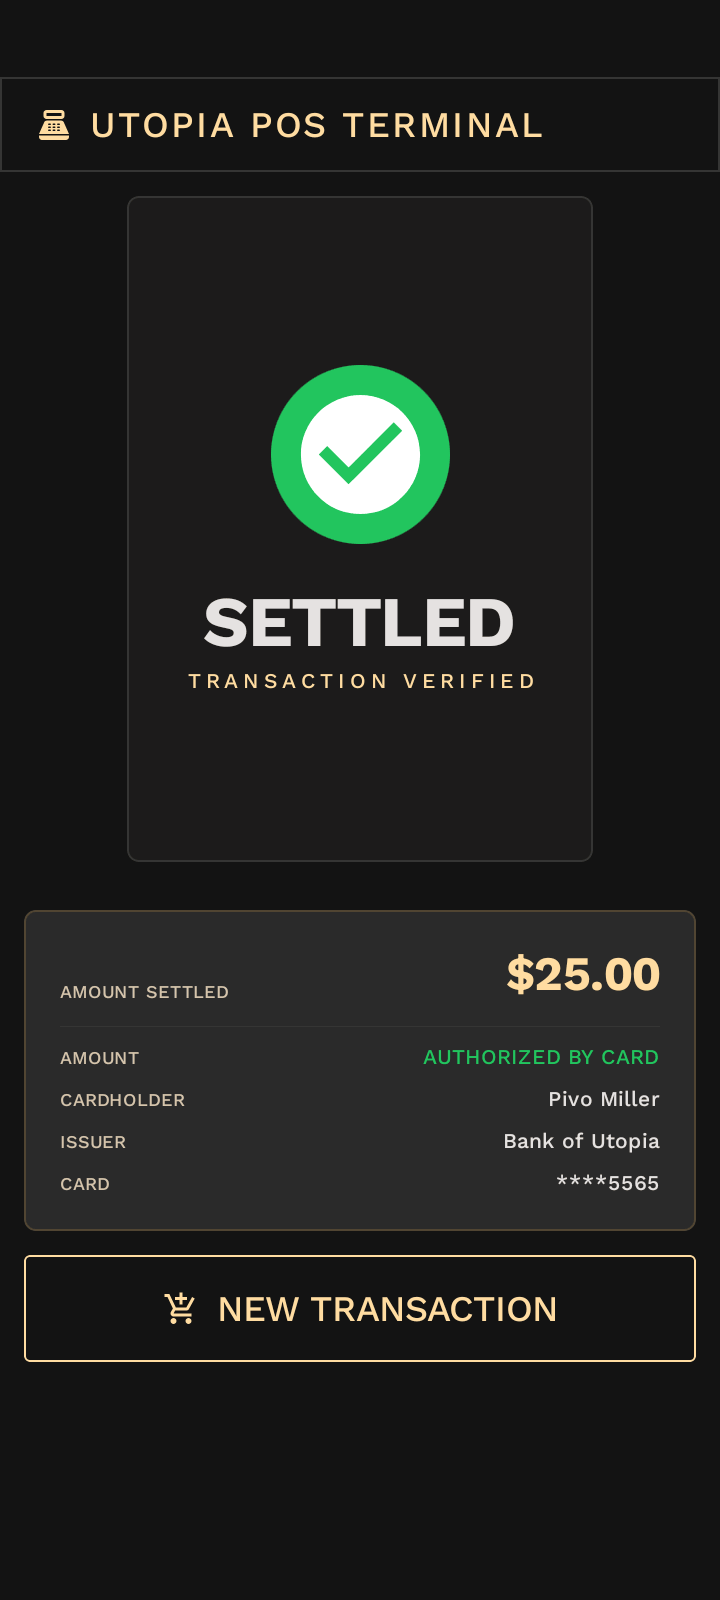
- You can inspect the credit to the merchant account (
Utopia Wholesale POS, account20000001) athttp://localhost:8004(orhttp://localhost:8100/registry/for container image) to confirm the funds moved.
For Utopia startup, Docker deployment, DPC issuance, configuration values, and troubleshooting, use the POS README.